
Trash to treasure...
Oh, no.
Oh, yes...
From the corner of my eye, Brenna begins to slide down lower in the passenger seat. I spotted it from halfway down the street and began to slow the Explorer to get a closer look as we approached. By now, Brenna is practically all the way down in the seat and begins to pull the hood of her sweatshirt up over her head. I pull up to the curb right in front and shift the truck into park.
You would think we were about to do a drug deal.
You would think we were about to do a drug deal.
But even after all the times I have done this, you would think she would be used to her mother by now. Why so embarrassed? While some may call this stealth score garbage picking, I prefer to use the term rescued trash for treasure. So many people toss their discarded pieces at the curb, and I see this as a creative opportunity, a fun challenge, to make something new, re-purpose and refresh. Besides, it's time for a new project.


It was in sad shape. The table was missing a few pieces of molding and trim. But I knew I could do something with it and besides, we could use a small table for the hallway to uphold the ever-disappearing candy dish. Yeah, like magic that candy disappears as soon as the bowl is filled. Does anyone else have this problem? Hmmm...
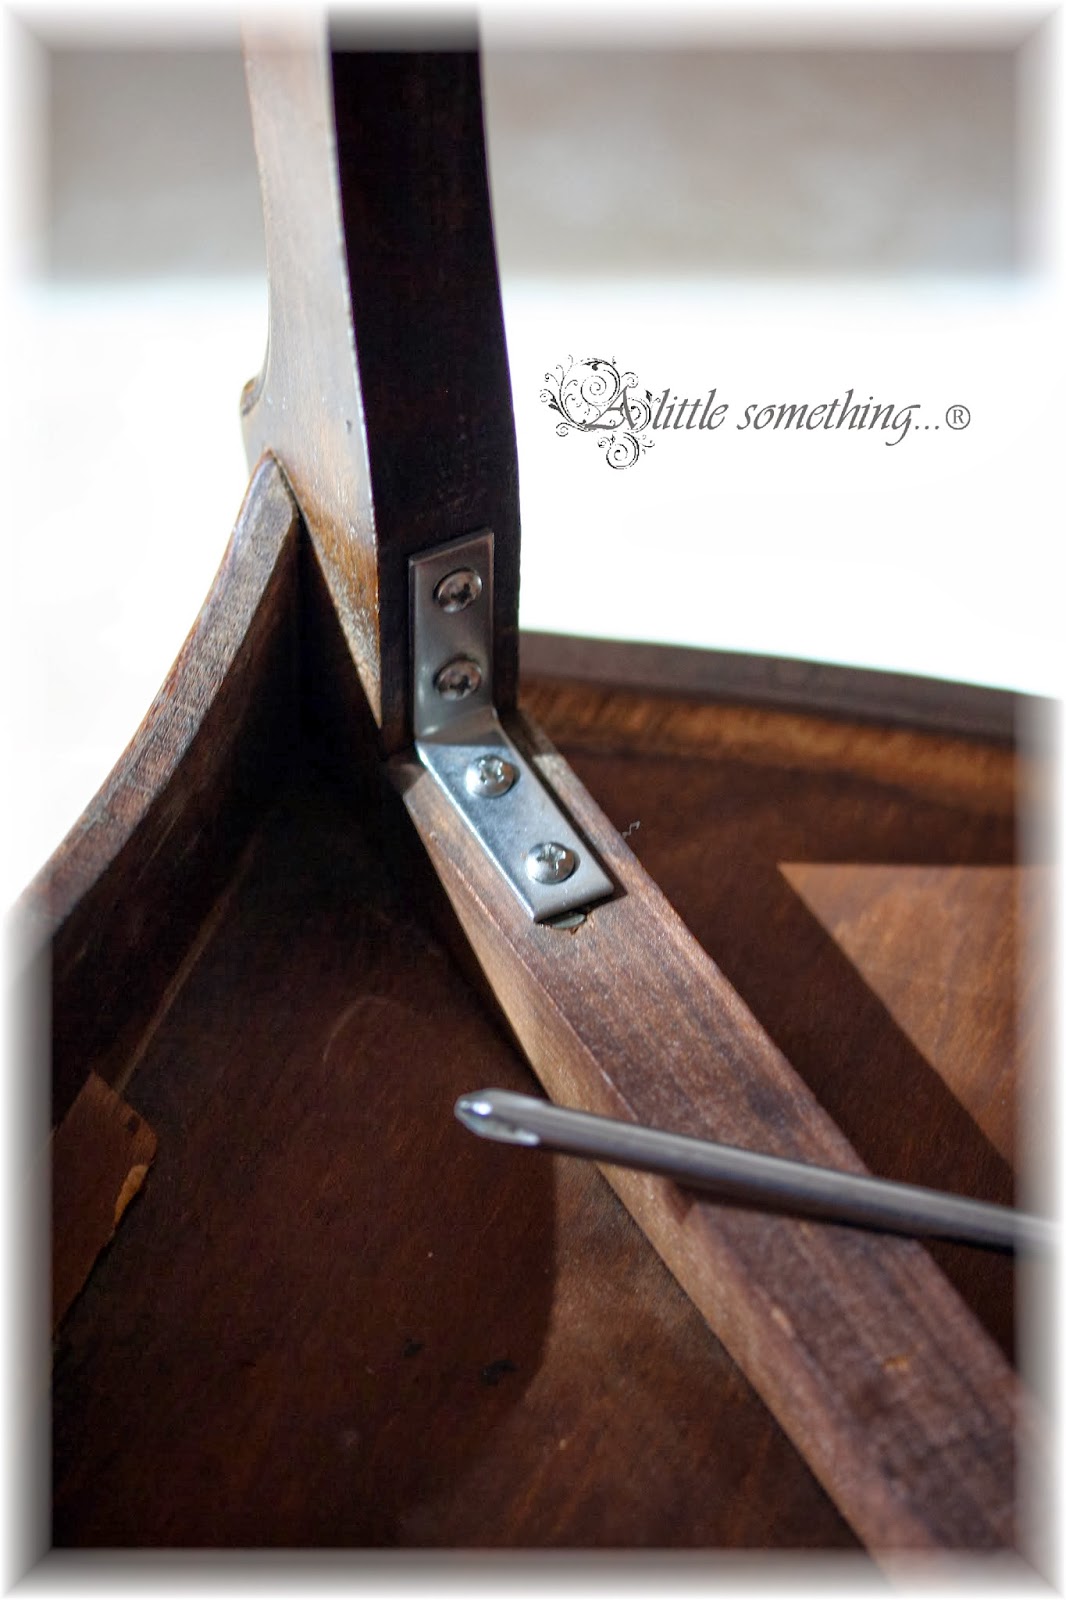
My motherly instincts knew just what this little table needed - a little TLC and maybe some mosaic magic. But the first thing to be done is fix the wobbling legs. It needed better anchoring. After picking up some corner braces to secure the table from underneath, screwdriver in hand, I tightened up the wayward piece. It needs to be solid enough to hold the weight of the mosaic tiles and grout on top.Okay, now for the fun part! Let's hit the craft closet...

I went through my bits and bobs and found this raised rose from a broken trivet. That was the starting point. Since this is a table and it needs a smooth surface top, all the tile pieces need to be even of the same thickness. Many of the wayward bits I normally use on a hanging piece were not suitable for this project so I went to Home Depot and picked up a few accent tiles to break up for the rest of the pattern surrounding the rose center.

Fitting all the broken pieces together is just like a puzzle, only you are creating it as you go along. I find it very relaxing to cut, find and fit. And if I need a particular shape, just cut and fit some more until the entire surface is covered.

With the top all done, the next step is to glue them in place. I usually let the glue set for a day or two afterwards before proceeding with the grouting.

Then it's time for the grout. I used a white color sanded grout I picked up in A.C. Moore this time since my supply ran out and this is a small project. For larger surfaces or multiple projects, I'll purchase a big package from Home Depot and mix as needed. You have to mix it, two parts water to seven parts grout, then let it slake, or sit for about ten minutes, until the grout is ready to be used. With gloved hands, I like to work the grout into the grooves, making sure it gets in all the nooks and crannies. After, I take a plastic putty spatula and smooth over the surface one last time. Let it sit for about twenty minutes, and then using a damp sponge, smooth over the top to clean off any grout covering the surface tiles.

Buffing the tiles once the grout is dry, maybe an hour or two later, the powder residue is removed to reveal the beauty of the pieces and center focal relief rose.

I painted the table a cafe cream over the original walnut color. It took two coats of the Behr 2-in-1 paint with primer so I could save myself time not having to do three or more coats. Since I wanted to give the table a weathered antique look, using an eggshell finish paint or milk paint is necessary to work with the waxing.

Next step - waxing. Stippling the dark wax in some of the joins and decorative impression areas to accentuate the markings, it looks very dark and ugly in the beginning. But once you take the natural clear wax on a clean rag and buff over all the parts just stippled, the beauty emerges, creating the softly weathered look of a treasured piece with many years of love and care.

All done! And so pretty. I didn't wax it too much, just enough to give it a little "age". Now it's ready for the refilled candy dish.

From trash to treasure... xoxo-Sonya


0 comments